Last weekend it was so cold in South Carolina. It even snowed in some parts of the state. Which really messed with this Colorado girl.
I discovered a few things about me. One, at the first sighting of a chill I will pull out winter clothes like I’m preparing for negative degree temperatures. Two, despite living in the South for nearly 4 years, I still have my winter clothes 🙂
This was part of our cold morning:
I happily headed to the grocery store bundled in my down coat, boots and a scarf. Because…WINTER!!
As I was driving to the store I had to turn on the air conditioning. Before I went into the store I took off my scarf. I walked in and decided it was time to shed the coat.
Half way through shopping I was trying to remember the rules about grocery shopping in the nude. I think that is not ok?
But is dripping sweat and soiling the bright linoleum floor ok? No.
So you see…
Anyway, I’m a survivor. So with the Destiny Child’s song in my head I went down the shopping aisle and completed my shopping.
The thing is, I’m sure all the native South Carolinians who are not used to this cold were nodding at me as I passed them in each aisle. As if to say, “You did the right thing.”
Ok, so cold weather. Means SOUP! And I made a white chicken chili recipe that was yum. The first time I made it I used that small can of chopped green chilies. The next time I made it I wanted to add my own fresh, roasted green chilies.
Jeremy and I both noticed a difference. BIG flavor. So fresh. And guess what? You can add this to so many different soups or Mexican dishes. This is your new secret ingredient? Ok? Ok!
Go ahead and make a batch of these in preparation for the white chicken chili recipe I am posting soon 😉
Here it is: Substitute for Canned Green Chilies
I like to roast pablano peppers. I think they have some great flavor with a little bit of heat. If you want something more mild, use a green bell pepper. If you want more spice, use a jalapeño. This is up to you.
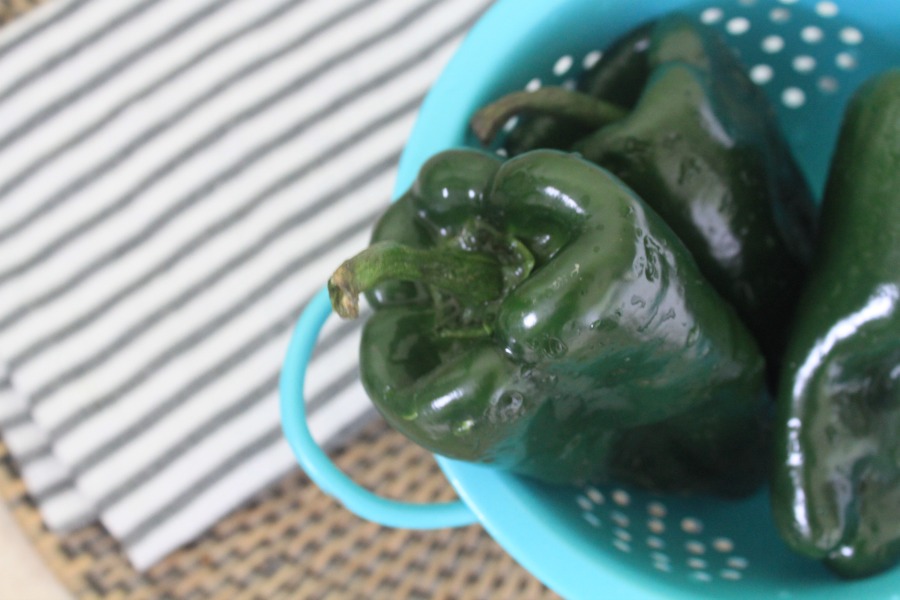
Also, since making my own roasted green chilies and realizing everything I can add them to – I started making them in big batches. Because you can freeze them. And then throw them into whatever your heart desires!
Salads, soups, fajitas, omelettes. MAKE ALL THE THINGS FLAVORFUL!
Also, I interrupt this light hearted post to bring you some serious news. USE GLOVES when you peel and chop your peppers. Especially if you use the hotter peppers. Once those spicy oils are on your fingertips it can takes days for it to really come off.
I have made this mistake before. There are a few tricks out there that help but nothing completely resolves the problem. My favorite is just rubbing plain olive oil on my hands. But still, is that how we want to use our oil? No!
So, glove up. That’s a thing, right?
I have latex gloves just for the job. They’re cheap and you can get them at any grocery store.
Ok, so if you just want to make enough for one can of chopped green chilies (which is 4 oz, this is what recipes usually call for) then 3 poblanos will give you what you need.
You can roast these in so many ways. If you have a gas stove you can roast them right over the open flame. Using tongs to turn them. You want them to be blackened on each side.
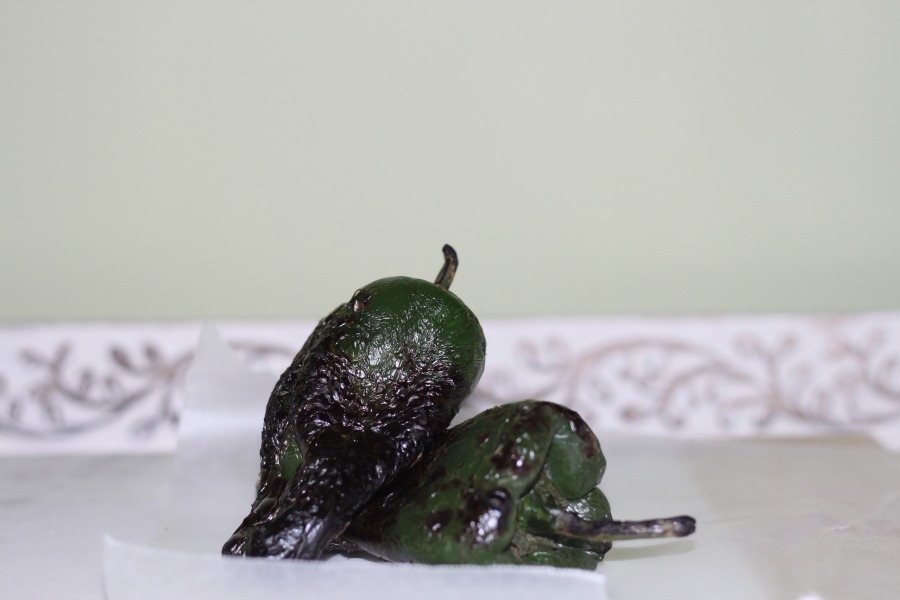
A safer approach would be to roast them in your oven under your broiler. Line a baking sheet with aluminum foil and lay your peppers on it. Place under broiler and turn as each side blackens. You’ll want to keep an eye on them to see how long it takes your oven to blacken each side the first time around.
The grill! I fill my grill up with these peppers. On high heat. Blacken on each side.
As your peppers finish up you will want to place them in a plastic bag or something you can seal. I place mine in a sauce pot with a tight fitting lid. Seal and leave the peppers for about 10-30 minutes.
This does two things. First, your peppers are cooling so you can handle them for peeling. Second this actually makes peeling them easier and allows the juices in the peppers to settle.
Once you can handle your peppers, glove-up! And peel the skin off, the blackened part. It should slide right off. You should also be able to pop the stem off – or you can cut it off.
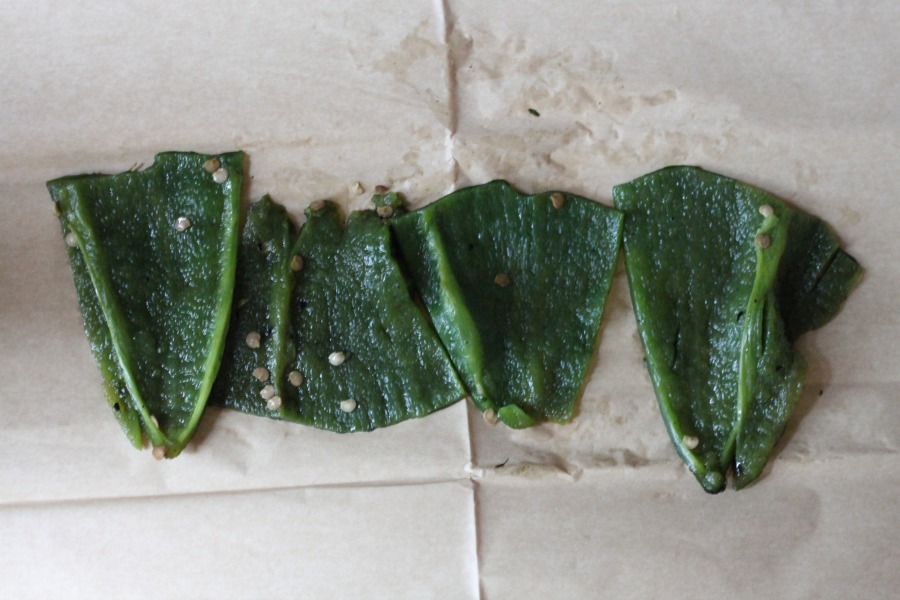
Depending on your heat preference, remove the seeds and the rib of the peppers. I leave some seeds in my peppers.
Now you can chop!
I dice mine up.
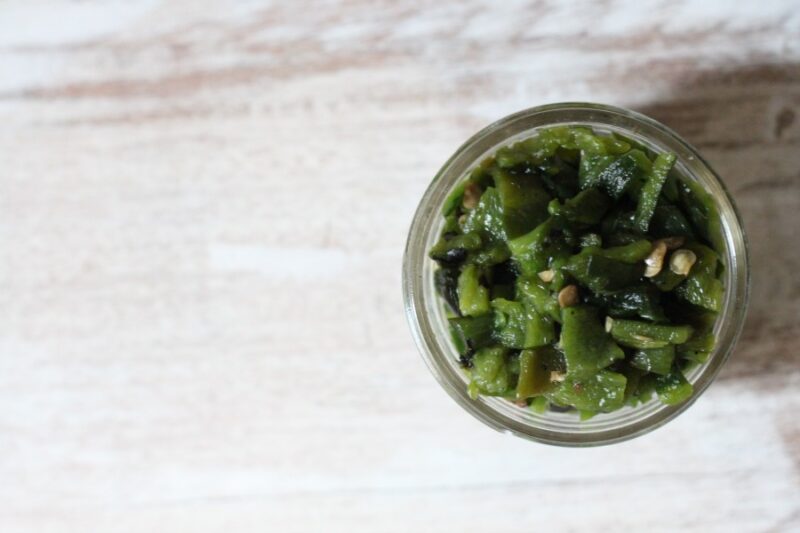
I like to keep mine portioned out in 4 oz sizes so I put them in the tiny 4 oz mason jar. Seal lid. Throw in freezer.
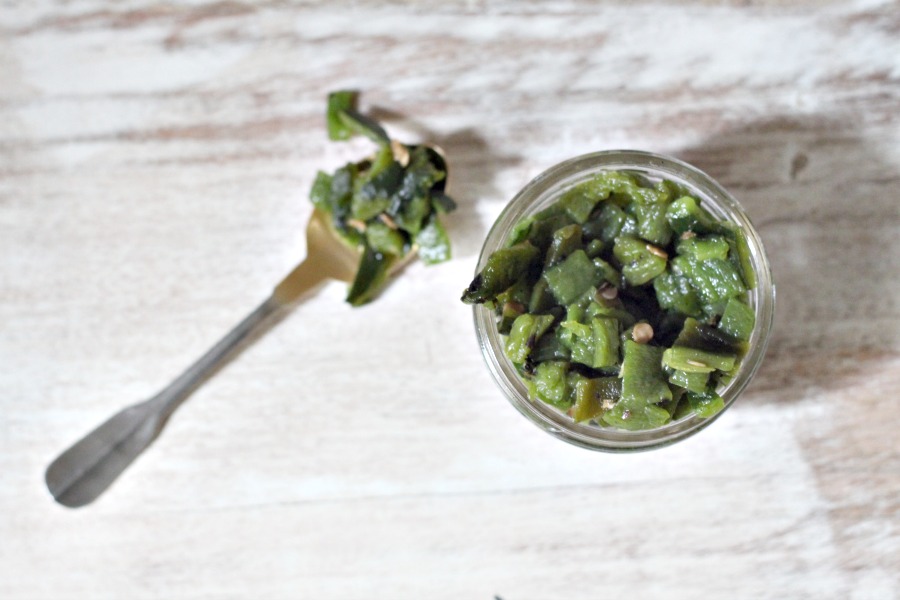
Or you can throw them all in a freezer safe dish or plastic baggie. This is all you!
So, yum! There it is. You now have a batch of the best secret ingredient for soups 🙂
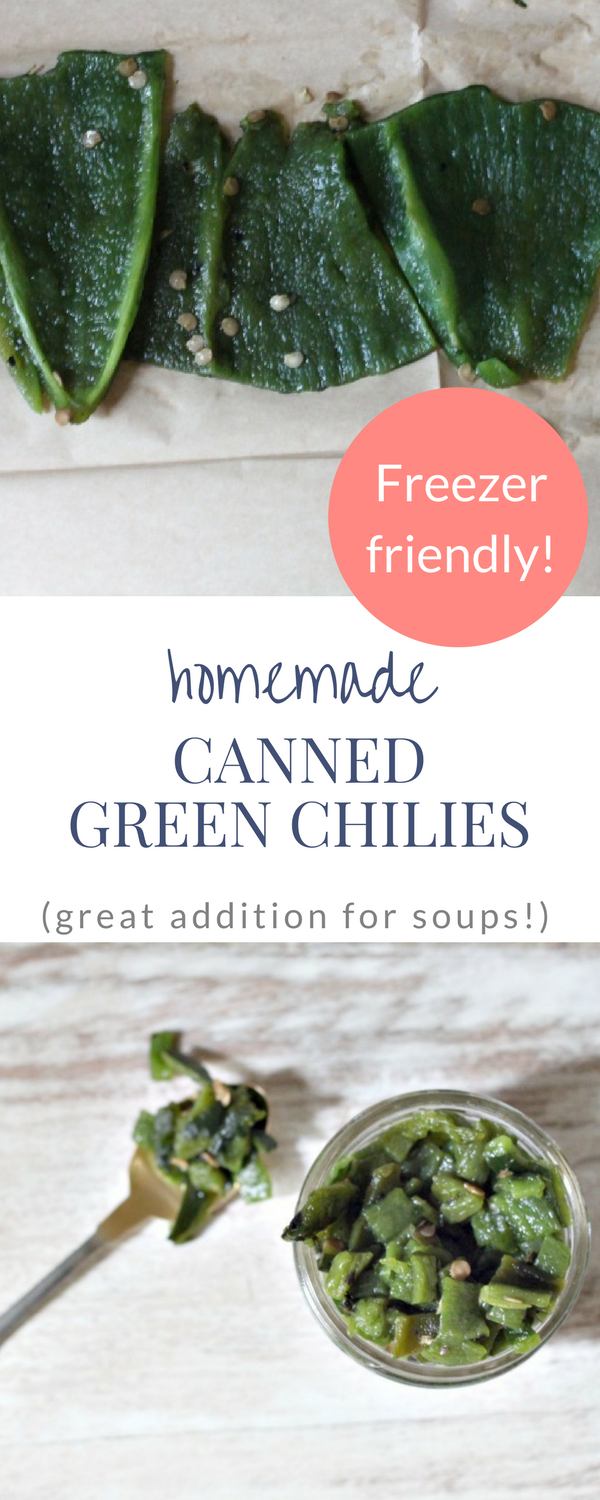
Substitute for Canned Green Chilies
These fresh roasted green chilies are so flavorful. You’ll never want to buy canned again.
Ingredients
- For 4oz of roasted green chilies you’ll need approximately 3 poblano peppers.
- Choose pepper of choice!
Instructions
- You can roast these in so many ways.
- Method 1: If you have a gas stove you can roast them right over the open flame. Using tongs to turn them. You want them to be blackened on each side.
- Method 2: A safer approach would be to roast the chilies in your oven under your broiler. Line a baking sheet with aluminum foil and lay your peppers on it. Place under broiler and turn as each side blackens. You’ll want to keep an eye on them to see how long it takes your oven to blacken each side the first time around.
- Method 3: Roast on grill. Turn your grill to high heat. Fill the grill up with your peppers. Blacken on each side, using tongs to turn.
- As your peppers finish up place them in a plastic bag or something you can seal. I place mine in a sauce pot with a tight fitting lid. Seal and leave the peppers for 10-30 minutes.
- This does two things. First, your peppers are cooling so you can handle them for peeling. Second this actually makes peeling them easier and allows the juices in the peppers to settle and reconstitute.
- Once you can handle your peppers, glove-up! Peel the skin off, the blackened part. It should slide right off. You should also be able to pop the stem off – or you can cut it off.
- Depending on your heat preference, remove the seeds and the rib of the peppers. I leave some seeds in my peppers.
- Next, chop or dice the peppers to your preference.
- To store you can keep them portioned out in 4 oz sizes buy putting them in tiny 4 oz mason jar. Seal lid. Throw in freezer. Or, if you are going to use within the next few days, the refrigerator.
- Or you can throw them all in a freezer safe dish or plastic baggie.
Sounds good and easy. By the way you wouldn’t like our weather, was -4 C but has warmed up to 32F. and we have snow on the ground. Thanks for the recipe
Wayne in Nakusp, British Columbia
There IS a cure for ‘hunan hand’! You dont have to wait for days until the chile oils wear off and you can touch your eyes again! It is very simple (and it took me 30 yrs of fooling around in the lab to find it). Just mix some non-ionic detergent (Dawn) with some vinegar and wash your hands with the mix. The detergent takes care of the oleoresin capiscum, and the vinegar solublizes the capsacin. Simple, quick, and easy!
Thank you for posting.
thanks!!! 😊